5 affordable at-home beauty strategies that deliver salon-level results
We tend to feel like our glossiest selves after emerging from a salon treatment - our confidence is sky high, we feel entirely refreshed, and we’re pretty certain we look like a million bucks. And honestly, we’d want to, because that’s usually what it feels like we’ve spent.
When that hard truth hits us, we’re often left questioning whether it was worth it and often it ends up as a resounding ‘no’. However, the answer isn’t to give up entirely on the treatments that make you feel your most confident. It’s simply to transfer them into your own home, by taking them into your own hands.
So what would you say if we told you that you could get that same post-treatment feeling without draining your account? ‘Tell us more’? We thought so. Here are 5 at-home beauty strategies that deliver salon-level results, and happen to be as affordable as they are effective…
#1: DIY hair lamination
We’ve all experienced intense envy over the glassy, glossy laminated hair looks we’ve spied on everyone from our friends to our fave celebs. And we’ve probably all googled ‘hair lamination treatments’ only to discover that said aesthetic probably isn’t in the budget any time soon. Blessedly, there’s now a way to get the same gleaming finish without having to commit to multiple hours in a salon chair (and a hefty bill following). The L'Oréal Paris Elvive Glycolic Gloss range is designed to offer exactly what you’re after: an at-home hair lamination treatment. Simply start by washing your hair with the Glycolic Gloss Shampoo ($9.49 at Chemist Warehouse) and Conditioner ($9.49 at Chemist Warehouse).
Once you’ve rinsed, it’s time for the 5 Minute Lamination Rinse-Off ($14.99 at Chemist Warehouse), which works to seal dull, porous hair with lasting shine in just five minutes, leaving it with a covetable ‘glazed’ finish. Make sure to rinse thoroughly once your timer’s up, then seal in the shine with the Leave-In Serum ($14.99 at Chemist Warehouse), which can be applied to damp hair post-lamination and dry hair when it comes time to style. The Glycolic Gloss products’ talents can be attributed to their hero ingredient: glycolic acid. With glycolic in the mix, the formulas all work to smooth, add shine, and repair hair from the inside out, leaving strands softer, silkier and shinier than ever. The results of your glassy-finish at-home hair lamination will even last up to 10 shampoos*. It’s a very impressive feat, considering the whole range comes in at under $50 (compared to the hundreds of dollars you’d pay for an in-salon lamination treatment). Your DIY results might not be expensive (phew), but trust us, they’ll look it.


#2: DIY dermaplaning
If it’s glossy-finish foundation and silky-smooth skin you’re after, peach fuzz is no friend to you. But hey, neither are the prices of a full in-salon dermaplaning treatment, so it might be time to take matters (AKA dermaplaning tools) into your own hands. All you’ll need is the dermaplaning blade itself (you’ll find an array of options at any beauty retailer), as well as your favourite serum/oil to help the process run (literally) smoothly. Start with freshly cleansed skin, apply your product, then wet the dermaplaning blade with warm water and start shaving with downward strokes, moving in the direction the hairs grow. Just remember to rinse the blade between strokes to dislodge the dead skin and hair it’s picked up along the way (um, good riddance). Finish your DIY dermaplaning treatment by splashing cool water onto your face - a little redness is normal while your skin calms down from the contact, so a hydrating, calming skin care product can prove helpful post-process. All that’s left to do now? Enjoy the feeling of your dolphin-soft skin.
#3: DIY brow tinting
Whether you’re tired of having to touch up your brows every single day or just prefer a fuller, more filled-in look when you’re bare-faced, a great brow tint makes all the difference. And you know who can deliver said great brow tint from the comfort of your own bathroom? You. There are plenty of affordable DIY brow tint kits you can pick up at your local supermarket or chemist, and the tinting process only takes a matter of minutes. Simply apply a petrolatum-based product around the perimeter of your brows to avoid staining your skin, mix the dye and developer in a bowl, and apply to your brows (using a cotton tip or spoolie). The processing time varies person to person, so keep an eye on your tint as it develops, and rinse within 5-15 minutes depending on your desired result (using face wash and water to make sure the dye is properly removed).

@rosiehw
#4: DIY facial treatment
If your skin’s been looking a bit lacklustre lately, don’t feel like you need to get into the salon to sort it out. You can simply replicate the exact same steps the pros rely on. Think about the rundown of your favourite facials - we’d assume there’s a double cleanse, an exfoliation/peel, a mask, treatment serum, massage, moisturiser, and maybe a little LED. All you need is products we’d bet you already own to fill the treatment steps, your hands (or any gua sha/roller tools you have in your stash already), and a light therapy mask if that’s a step you’re determined not to skip. Some cost as little as around $150, and the cost per use will get lower with every at-home treatment. Throw your robe on, cue up a little mellow music (we recommend Kacey Musgraves’ latest album), and commit to your complexion for a half hour. How handy to have your new favourite facialist (spoiler alert: it’s you) available at all times?
#5: DIY bond repair
Hair is the thing we all tend to spend the most on salon trips for. There’s just so much involved: you might want to finesse the colour, tweak the texture, switch up the cut, the list goes on. But honestly, the more you focus your efforts on amping up smoothness, softness, and shine, the less you’ll need to do in other areas. And even more honestly, it might have been the constant colouring and styling that was the culprit behind robbing your hair of the silkiness you crave. Luckily, the L'Oréal Paris Elvive Bond Repair range can help you to restore the radiance and manageability you’re looking for - packed with citric acid, it’s all about rebuilding the inner broken bonds within the hair. The routine starts with the Pre-Shampoo ($14.99 at Chemist Warehouse), which is designed to sit in the hair for five minutes before you apply the Shampoo ($9.49 at Chemist Warehouse), Conditioner ($9.49 at Chemist Warehouse), and finish off with the Repair Serum ($14.99 at Chemist Warehouse). You’ll be surprised how refreshed your hair looks with an extra serving of smoothness, shine, and bond-building damage repair (and delighted at what you’ve saved by swapping to an at-home alternative that happens to offer salon-level results).
*Instrumental test after application of shampoo+ conditioner+ lamination treatment
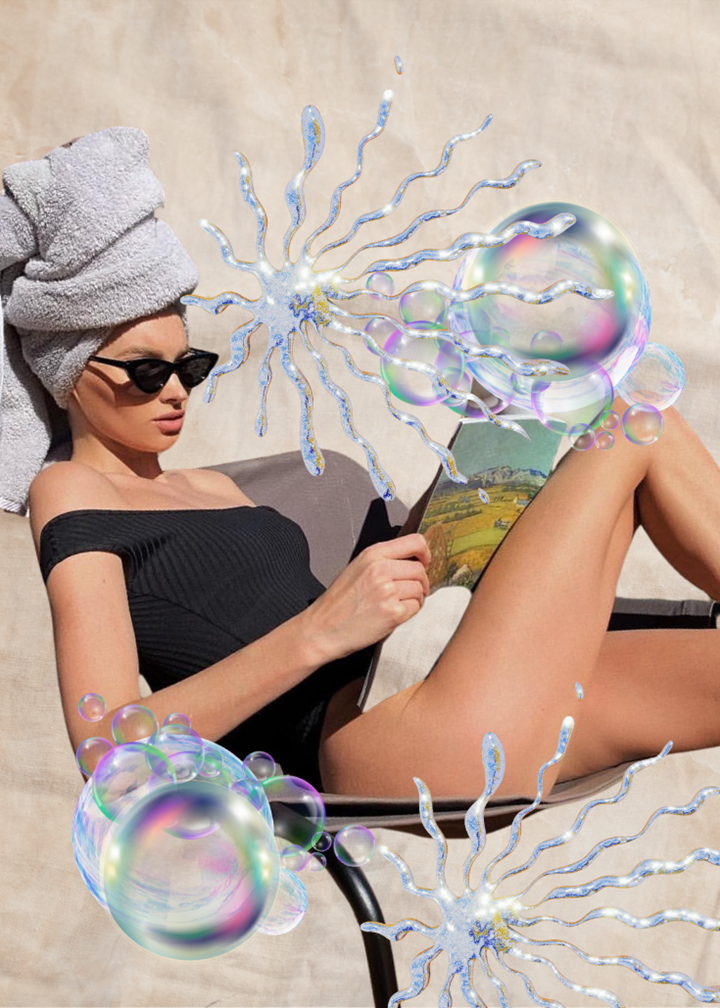
Main image credits: @hoskelsa/BEAUTYcrew
Want more 'High Gloss' features like this? Read the rest of our digital issue.

Delaney began her career in the Australian beauty media industry in 2015, landing amidst the glossy world of women’s lifestyle magazines (or more literally, in their beauty cupboards). Since then, she has gone on to write across a multitude of beloved Australian media brands, including OK!, NW, InStyle, and Harper’s BAZAAR. She’s covered every side of beauty content, from directing beauty editorial shoots to rounding up the best glossy serums for golden hour skin. Having spent nearly a decade immersed in the beauty realm, Delaney’s knowledge of beauty is as extensive as her collection of tinted lip oils (read: extremely extensive). Delaney is currently the Digital Managing Editor of BEAUTYcrew, and her beauty wisdom also appears across beautyheaven, ELLE and Marie Claire. She enjoys channelling her personal hobby (testing beauty products) into her professional work (talking about testing beauty products), and considers perfecting the art of a cat eye in a moving car her life’s greatest accomplishment.
Brought to you by